

I feel like this is something every college student wants right – a custom beer pong table!? This is really a fun activity for you and some friends to go in on, come up with the design you want, and have a custom table for you guys to show off to everyone that comes over 😉 This guide tells you step by step how to paint a table, and it doesn’t have to just be to paint a beer pong table, you can paint a table with any type of design and use it for anything you need it for! I painted quite a few for people who gave me their design ideas and sold them to fundraise for a service trip I’m going on! If you follow each step in this guide, your table will be great quality, and very durable!
This post is a step by step guide on how to create a custom painted beer pong table!
What you will need:
-Table of choice
-Acrylic paint
I used the Folkart brand from Michaels
-Painter’s tape
-Paint brushes
This is a great set from Michaels
-Sealant
I used this exact one! It worked amazing, and is the least expensive at Walmart
-Primer
I used this exact one!
-Foam or thin nap roller (for primer and sealant)
-Scotch-Brite Fine Sanding Pads
Step One:
Find a table you want to use. This can be the actual 8×8 table that is supposed to be used for beer pong, or the standard 6 foot table. A standard folding 6 foot table is probably the best way to go, it is lightweight and the fact that it can fold makes it a lot easier to carry and transport. I found mine on sale at Ace Hardware for $35 which is a good deal!
Step Two:
Sand the table down. Most plastic tables come with a glossy finish that the paint won’t stick to very well. Use fine grit sandpaper or Scotch-Brite Pads to get some of the glossy coating off. Wipe off the sanded dust with a rag.
Step Three:
Apply a primer. Priming the table will ensure that the paint will have a good base to stick to, and if you want some of the background of your table to be white, the primer is white so you won’t have to paint that part! I would apply two coats following the instructions on the can of primer for a good base. Let this dry completely.
Step Four:
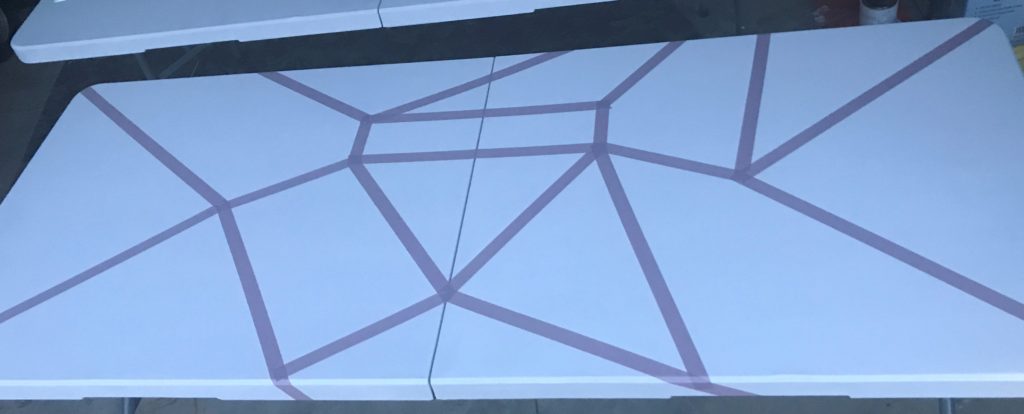
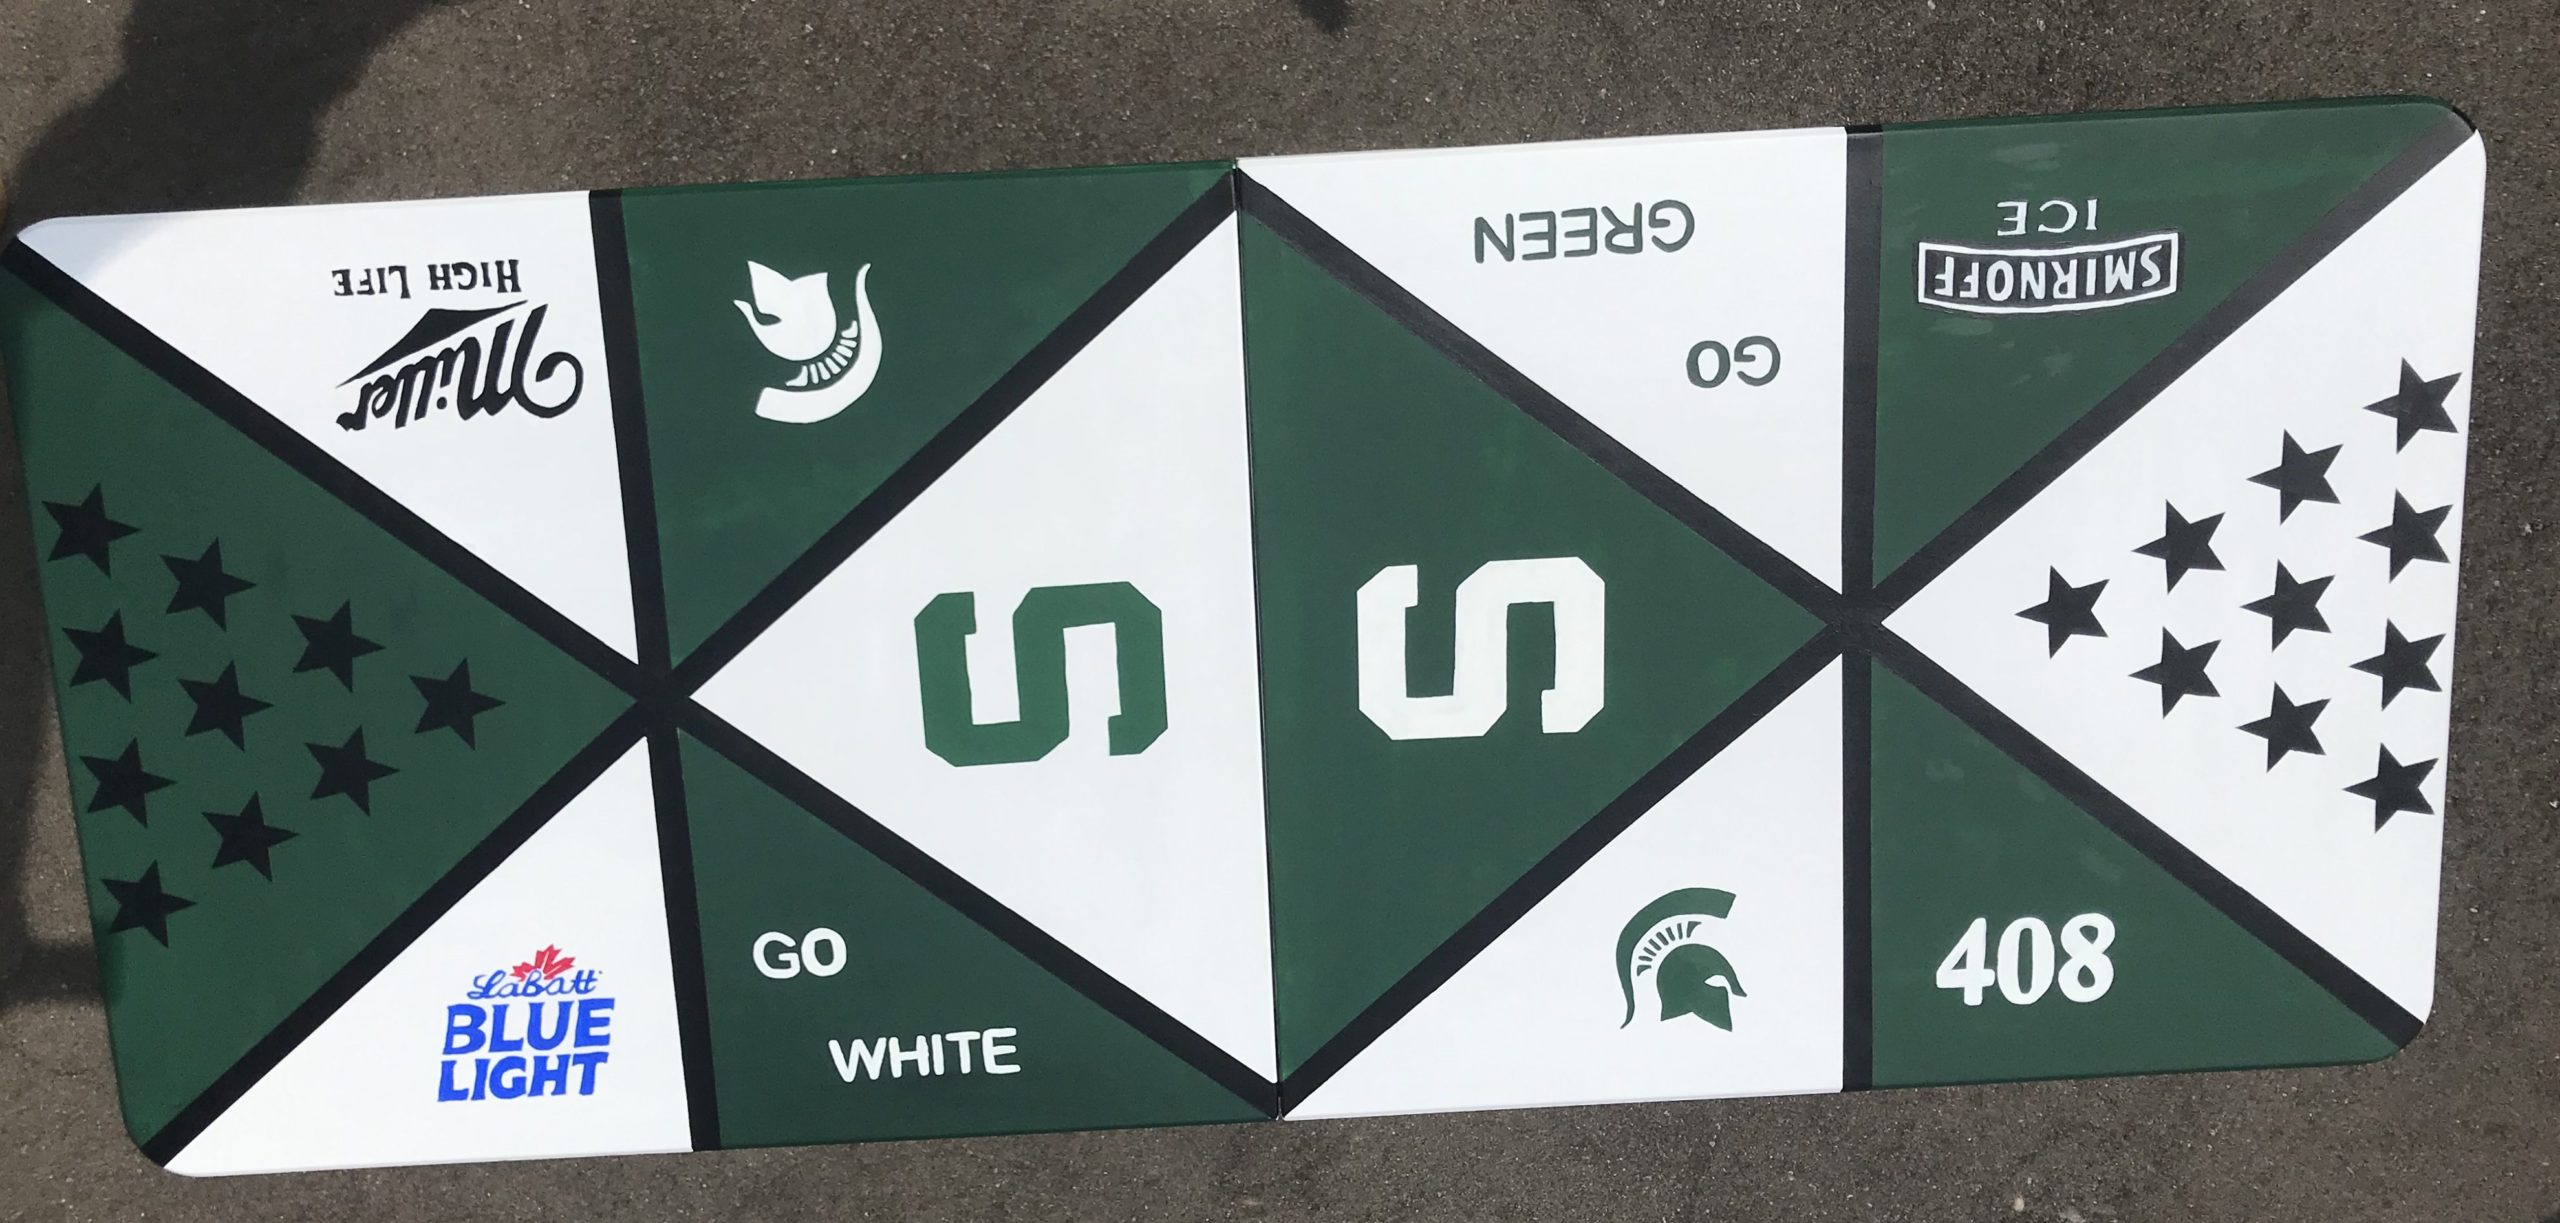
Use tape to tape off your desired design outline. This can be anything you want, and if you are making this for beer pong, this is where you probably want to have a triangle at each end of the table that the cups will be placed in. Use a gentle painters tape so it will not peel off the primer. Also to avoid this, remove the tape gently from the table right after step five.
Step Five:
Fill in each sector you made with the tape the desired background color. Depending on your paint, and the color you want, this may take multiple coats. Let the paint dry between each coat. Gently remove the tape.
Step Six:
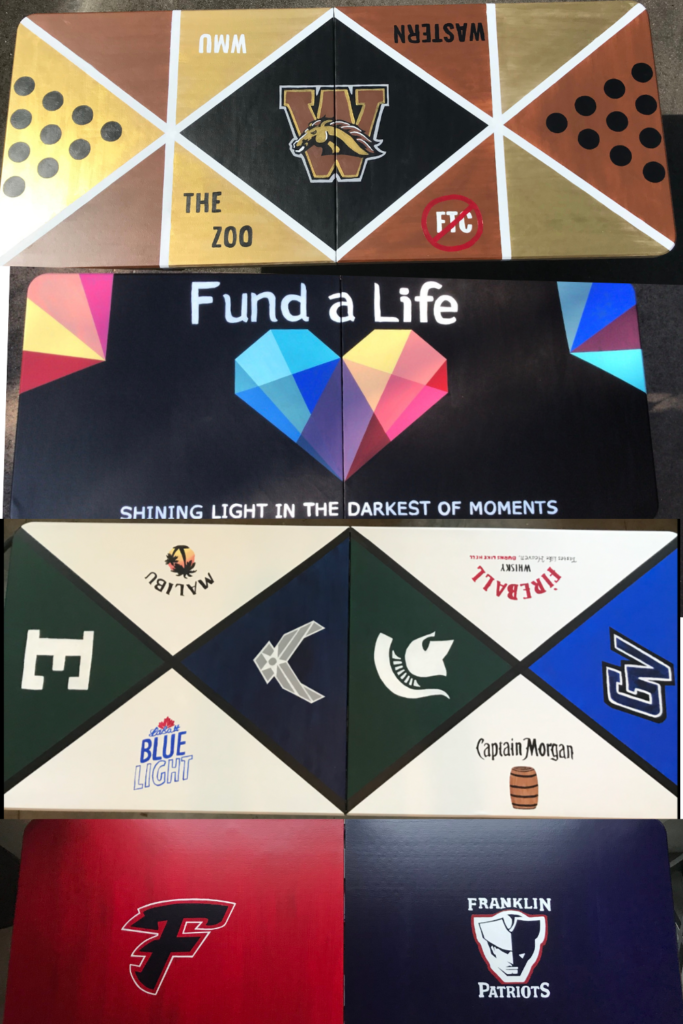
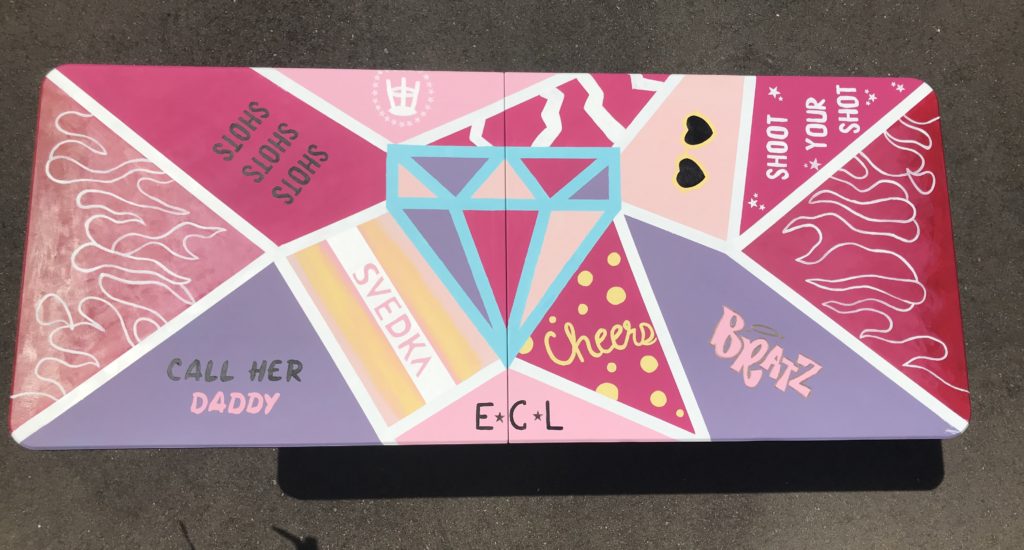
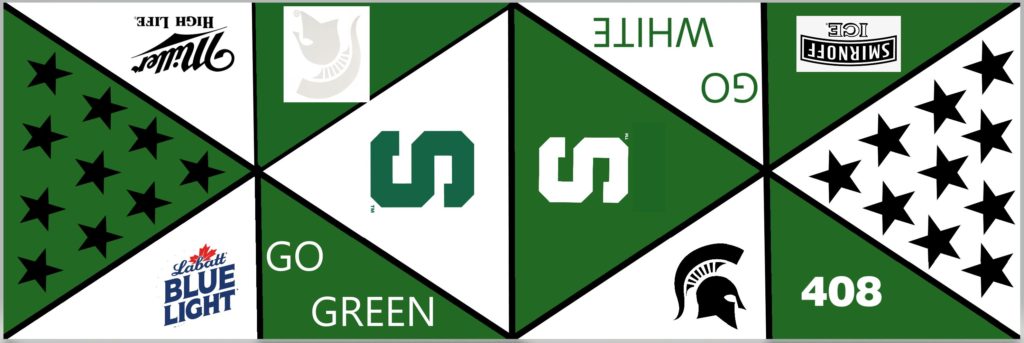
After the background color has dried, you can move on to the best part – painting the designs! This can be absolutely anything you want! It can be brand names or logos, fun sayings, geometric patterns, your names, etc. The options are endless so use your creativity to make the most of your design! Something I did was use my computer’s drawing app to loosely create what I wanted my design to look like. Download logos from the internet and move them around to see which placements look best. Another great thing to do if you don’t want to freehand the designs is to print them, cut them out, and paint over them like a template.
Step Seven:
Almost done! Right now you dividing lines (the areas that were under the tape) that should be white from the primer (see image in Step Four). If you don’t want them to be white, line each side with tape and paint between the tape lines your desired color. Using the tape will give you clean lines and make it look really great.
Step Eight:
Once all of the paint is completely dry, it is time to seal the table so it will be waterproofed for any spills, scratch resistant, and durable to last many years. Roll on at least two layers of sealant, let it dry for a couple of days so it can fully harden, and you have yourself a custom painted beer pong table to enjoy!
